
Sooner or later, it happens to everyone: you have a clean, ready-to-paint miniature in front of you, and you wonder how to prime it. With a brush, a spray can, or an airbrush? There’s no one-size-fits-all answer. It depends on how many miniatures you need to prepare, where you’re working, how much you want to spend, and how important it is to you not to lose even a single detail of the sculpt.
Here's how the three methods actually work, where beginners most often go wrong, and how to choose without buying unnecessary stuff.
What is primer used for?
The primer is the base coat that goes between the miniature and your paints. It does three things. First, it provides adhesion: resin, plastic, and metal are smooth surfaces, and acrylic paint applied directly tends to slide off and peel away at the edges, especially when you handle the miniature. Second, it evens out the color of the material, so your paint layers behave the same way across the entire figure. Finally, it acts as a magnifying glass: under an even base coat, mold lines, flash, and scratches become immediately visible, and it’s best to fix these before painting, not after.
Brush-on primer
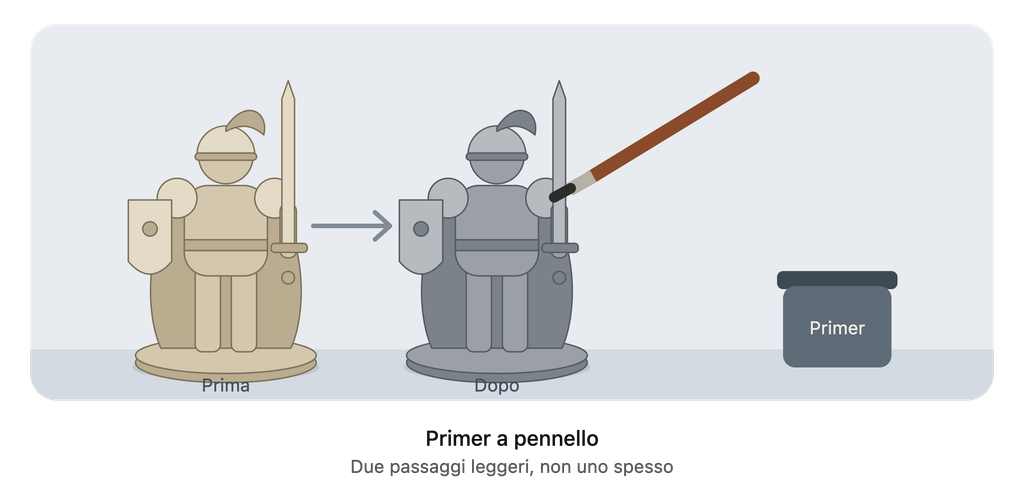
It's the simplest method: just open the can and get started. You don't need a compressor, a mask, or an open window, and you don't waste any product. It works well for a single miniature, a bust, or for touching up a spot that was missed after spraying.
The downside is the hand. The brush leaves marks, the primer accumulates in the recesses, and faces, hair, and engravings risk looking a bit muddy. You can minimize the problem with a few precautions:
- Apply thin layers: it's better to apply two light coats than one thick one;
- Use a brush that you don't need for details, because the primer will wear it out;
- Don't dilute it too much, or it will lose its tack and run;
- Let the first coat dry thoroughly before applying the second.
Pros: minimal cost, no equipment, no misting, total control over where you place it.
Cons: Slow if you have a lot of miniatures; risk of leaving marks and obscuring details; less uniform results on large surfaces.
Spray Primer
It’s the most popular method, and it’s easy to see why. With a single can, you can cover an entire team in just a few minutes, and if you spray it properly, the coat is thin and even. For groups, armies, or the characters in a campaign, it’s hard to beat the balance between speed and results.
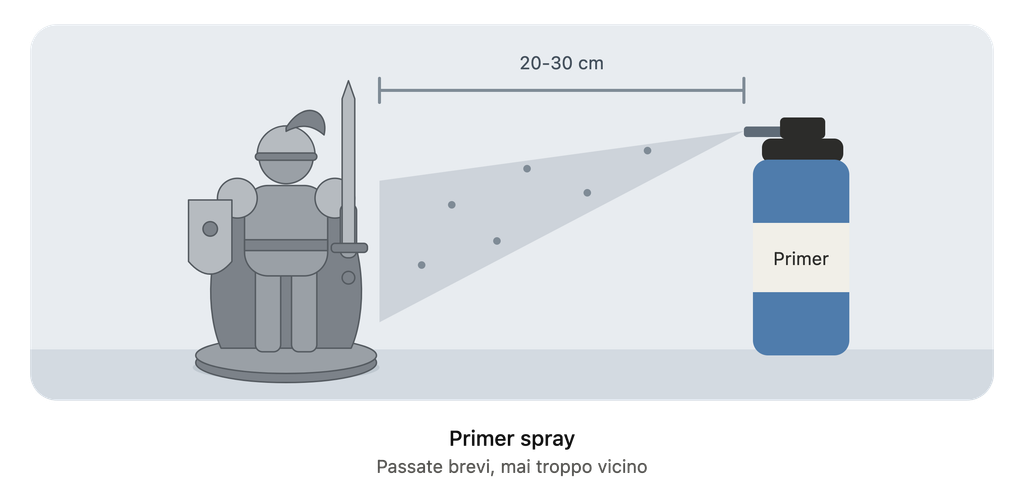
The mistakes, however, are always the same. If you spray too close (20–30 cm is a good starting point), puddles form and the details disappear. In high humidity, the finish can become dull and rough, almost frosty; in cold weather, the paint can become grainy. Use short, sweeping strokes; rotate the miniature to cover it from multiple angles; and shake the can well before you start and occasionally while using it.
Another thing not to be underestimated is fumes. Work outdoors or in a very well-ventilated area, and wear an appropriate mask: a surgical mask isn't enough.
Pros: fast, even coverage, great for lots of miniatures, no tools needed other than the spray can.
Cons: It depends on the weather, requires ventilation, offers fewer color options, and costs more per miniature if you're making only a few.
Airbrush Primer
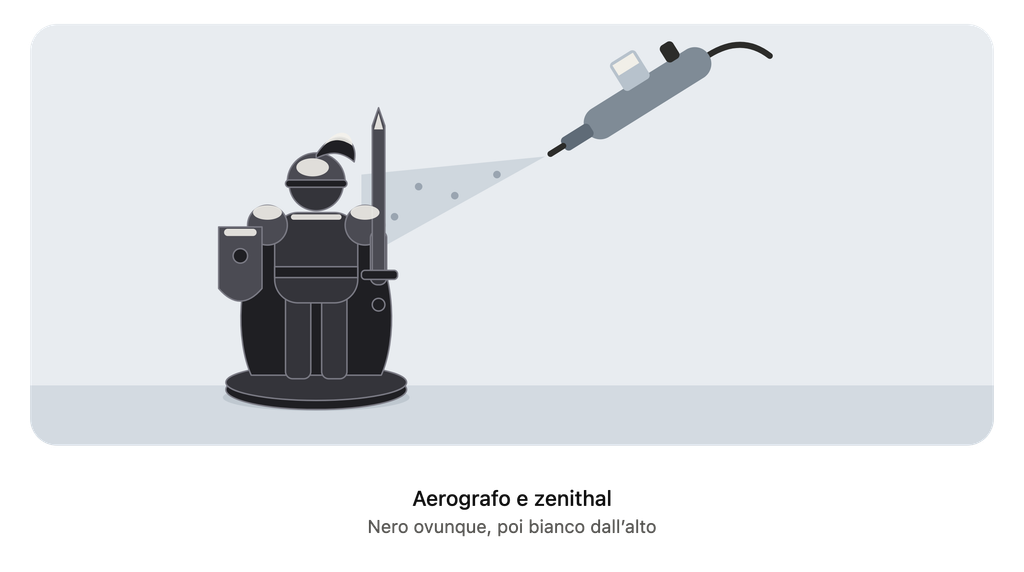
Here you get the thinnest, most controllable layer. You decide the pressure, distance, and amount, so the details stay clean even on the smallest miniatures and highly textured sculptures. You can choose any color you want and apply the zenithal technique right away: first a black base coat, then a stroke of white from above, at about a 45-degree angle, which simulates light and gives you highlights and shadows to work with right away.
The cost is the initial setup: you’ll need an airbrush and a compressor, and there’s a learning curve. Bottled primers are thicker than paints, so they must be thinned with the manufacturer’s recommended thinner and sprayed using a nozzle that isn’t too small (0.4 mm or larger is the most common rule), starting with the pressure recommended on the package. And the airbrush must be cleaned immediately after use: primer that dries in the nozzle is a nasty surprise. Here, too, it’s best to work with an exhaust fan or with the window open, because paint mist lingers in the air.
Pros: finer finish, meticulous attention to detail, choice of colors, zenithal shading applied as early as the primer stage, very low cost per miniature in the long run.
Cons: initial investment, requires cleaning, takes a little practice.
Which One to Choose
If you paint a miniature every now and then, have limited space, and are on a tight budget, a paintbrush is all you need—and it lets you learn without buying anything. If you later find that the brush strokes bother you, switch to spray paint.
If you're painting different miniatures, or if painting has become a habit, spray paint offers the best balance between cost, speed, and results. If you have a balcony or a garden, it's also the most convenient option.
If you paint often, care about the quality of the base coat and the effects of light, and already own an airbrush (or are planning to buy one), an airbrush primer is worth the investment and will save you money on spray cans over time.
You don't have to choose just one. Many painters use spray paint for large batches and a brush or airbrush for touch-ups and for the miniatures they care about most.
Black, white, or gray?
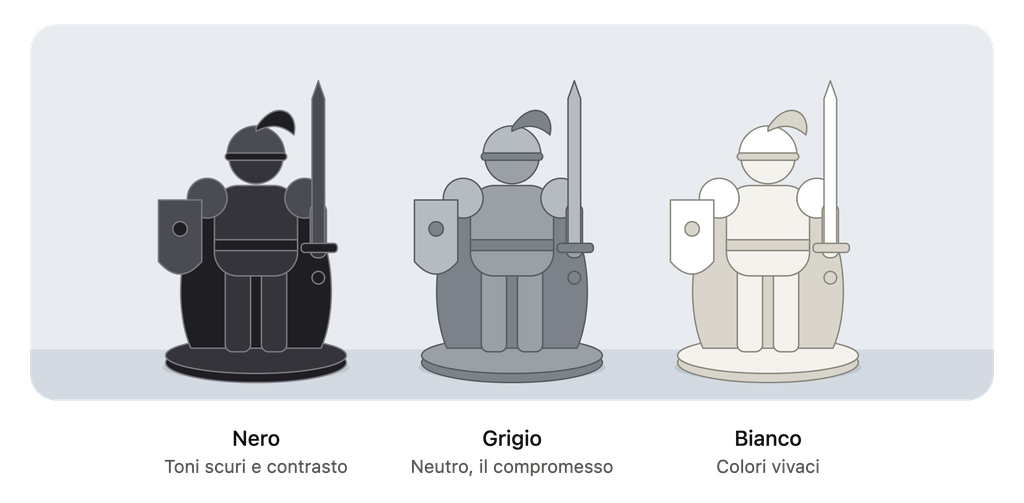
The color of the primer affects how the colors you apply on top behave. Black adds depth and creates deep shadows; it’s the most common choice for dark tones and contrast techniques, but it can make light colors look a bit muddy and requires more layers. White makes vibrant colors and transparencies stand out, but it forces you to build shadows from scratch. Gray is the middle ground: neutral, neither too dark nor too light, it allows you to clearly see the forms. If you don’t know where to start, begin with gray.
Before You Begin: Cleaning and Drying
The primer works only on a clean surface. Resin miniatures and 3D-printed miniatures may have manufacturing residue on their surfaces: wash them with lukewarm water and a little mild soap, rinse, and dry them thoroughly. Remove any burrs and mold lines with a file or fine-grit sandpaper, then apply the primer.
After applying the paint, let it dry thoroughly—at least a few hours, preferably overnight—before handling the miniature and starting to paint.
Frequently Asked Questions
Do you really need a primer? For most miniatures, yes. Without it, the paint doesn't adhere as well and is more easily damaged by touch.
Can I use regular acrylic paint instead of a primer? You can apply it as a base coat, but it won't adhere as well. For long-lasting results, use a product designed for this purpose.
How long should you wait between applying the primer and the paint? Check the package, because it varies from product to product. As a general rule of thumb, wait at least a few hours.
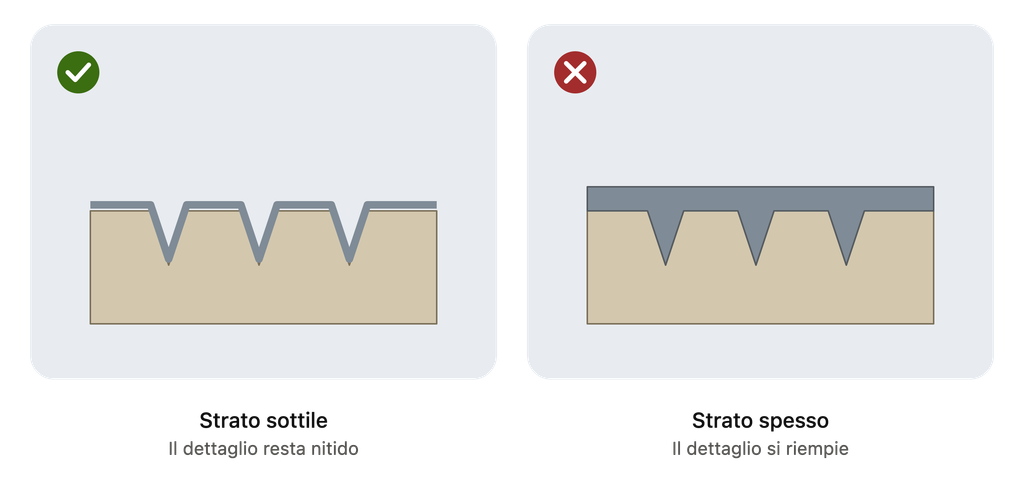
Does the primer cover up the details? No, not if you apply it in thin layers. There’s a risk if you hold the spray too close or load the brush with too much product.
Is black or white better? It depends on the colors you'll be using: black for dark shades, white for bright colors, and gray if you want to go with something in between.
If you're about to choose your first primer, check out the brushes, colors, and accessories to get you started in our store under the "Accessories" category.


